The role of the center point
The role of the center point is relatively special, and we will look at the actual role of the center point in conjunction with the rotation of these contents.
Open the software, first create a layer, because the default layer size is the original size of the picture, here we reduce it a bit to facilitate the later rotation to see the effect more easily. (Drag the arrow in the lower right corner of the picture to pull it diagonally to zoom out)

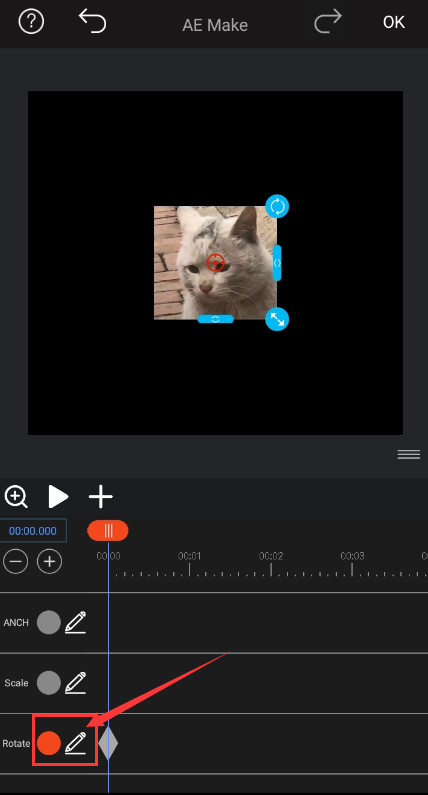
Then we click on transform to animate the layer rotation.

Find the rotation button, the picture layer defaults to 4s time, so we first move the time frame to 0s, then click on the small dot and type the key frame.
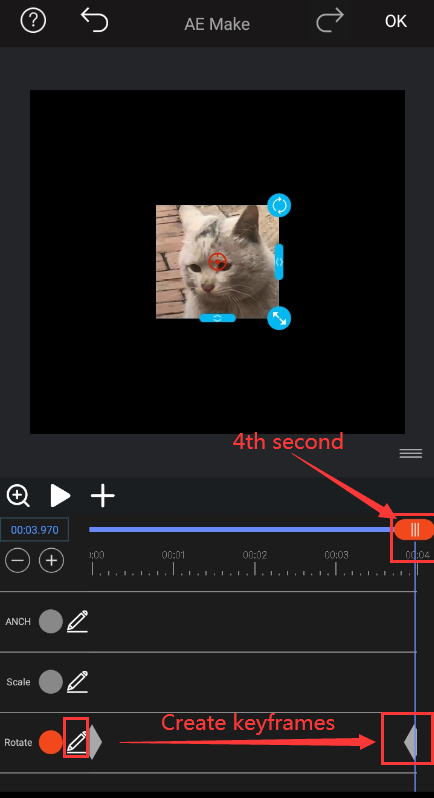
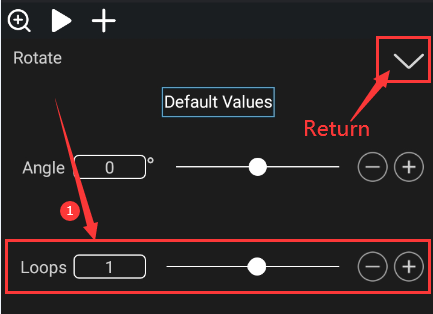
Drag the time hand to modify the rotation data at 4s, so that it rotates one circle along the Y axis. After setting, click to return.
Let ’s preview the rotation animation at this time:
Drag the time frame to 0s and light the center point button.

We click on the pen-shaped button after the center point to position the center point horizontally to the left of the picture. Then click back.

Let ’s preview the rotation animation at this time:
As you can see, the rotation is now based on the center point that has moved to the left.
We then modify the center point parameters to move the center point horizontally down to the lower left corner of the picture. After making changes, click Back.


Let ’s preview the rotation animation at this time:
We can clearly see the gap between the animation and the beginning.